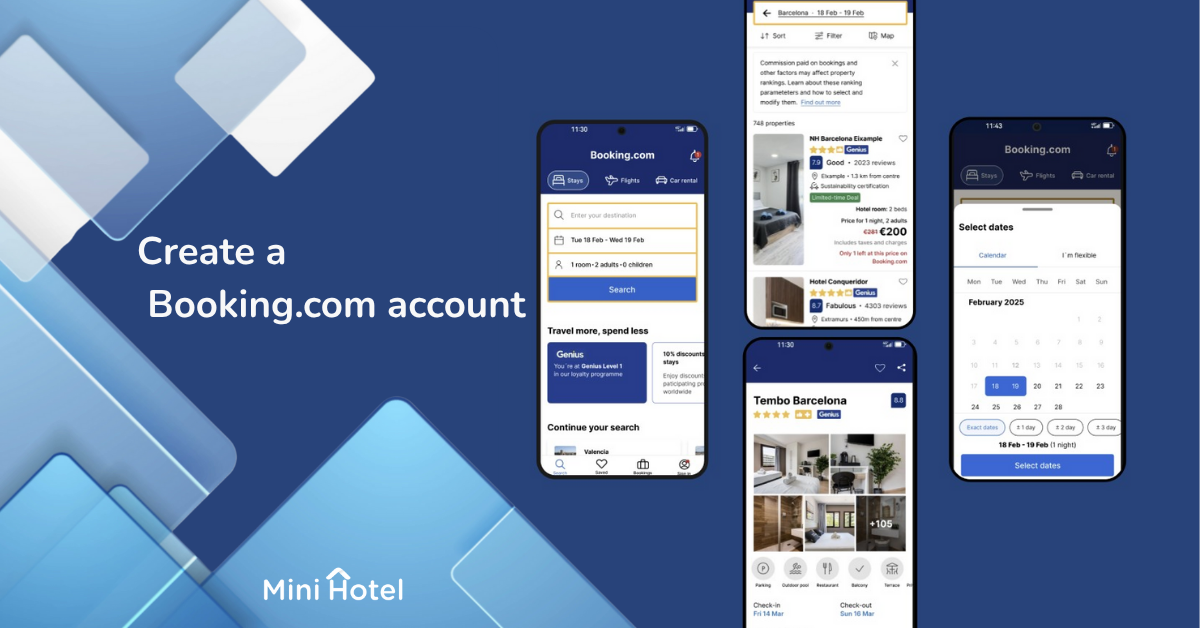
Listing your property on Booking.com is one of the fastest and most effective ways to start receiving online reservations. In this guide, we’ll walk you through the process step by step—from registration to getting your property published.
1. Sign In and Register
Go to the Booking.com Partner Portal and click “Start”. Create your account using a valid email and a secure password, and accept the terms and conditions of the Partner Program.
Tip: Use a professional email address—preferably the same one you use for your PMS or property management communication.

2. Basic Property Information
Complete your property details so Booking.com can identify and list it correctly:
- User details: name, last name, phone number, and email address.
- Property name: the commercial name your guests recognize or that appears on your signage.
- Property type: hotel, apartment, cabin, lodge, glamping, etc.
- Exact address: verify that your location on the map is accurate, since it directly affects your visibility in search results.

3. Property and Room Details
- Add basic information such as the property name, star rating, and whether it’s a single property or part of a multi-property setup.
- Indicate if you use a Channel Manager. If you do, select “Yes” and you’ll be able to connect it at the end of the registration process.

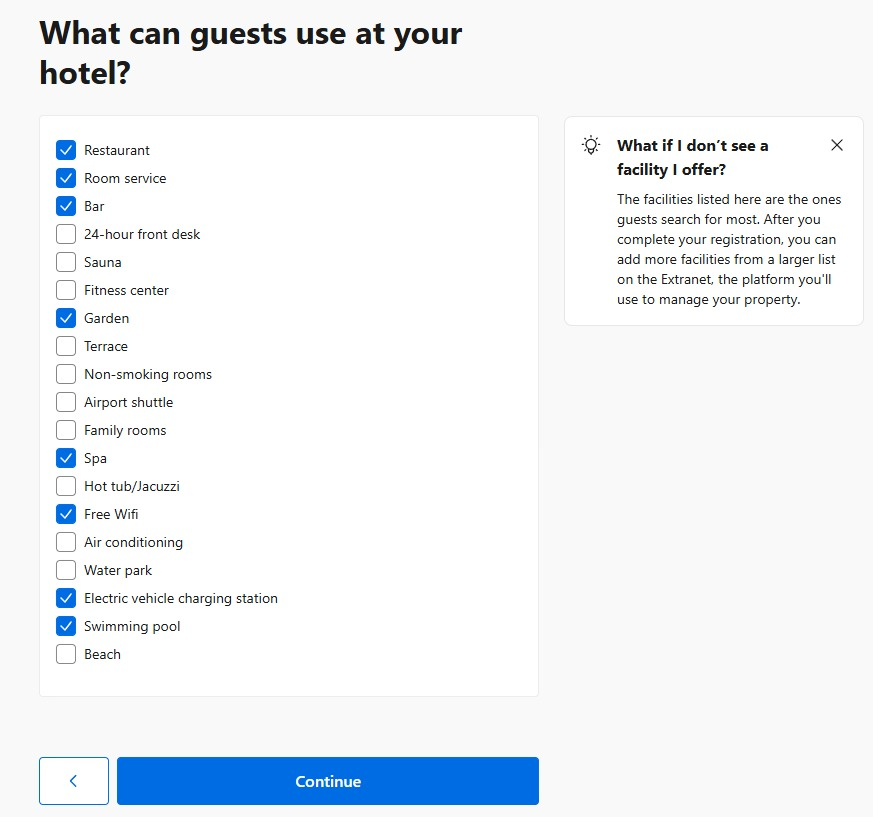
Before adding rooms, select the services and amenities your property offers. Specify if you include breakfast (and what kind), and whether you provide parking—free or paid. If you prefer to move quickly, don’t worry—you can edit these details later in your Booking.com dashboard.
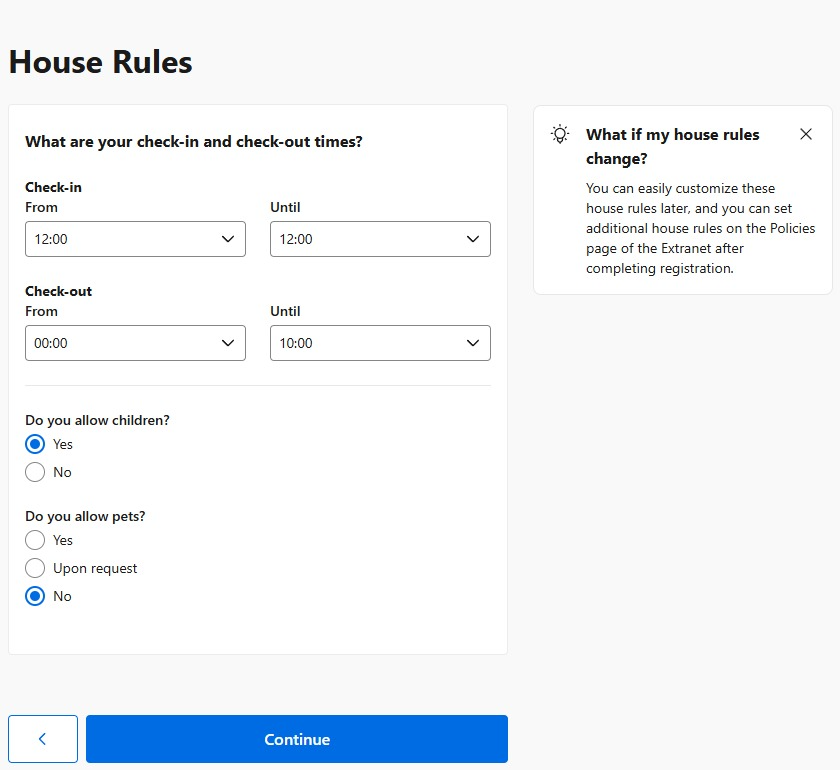
4. Property Policies and Conditions
Define your property’s key policies. These rules are displayed publicly and help reduce misunderstandings or unnecessary cancellations.
- Check-in and check-out: set clear times for arrival and departure.
- Cancellation policy: choose between flexible, moderate, or strict depending on your strategy.
- House rules: indicate whether you accept pets, smoking, children, or external visitors.
5. Add Your Rooms
Add each room type, including capacity, bed setup, and included amenities. Upload high-quality photos (at least five per room) and write a short description that conveys the experience guests can expect.

Tip: Use bright, natural photos without overlaid text, and highlight authentic details. Real, well-composed images inspire more trust than generic stock photos.
6. Rates and Availability
Set up a base rate and fill in your availability calendar. You can adjust pricing for weekends, seasons, or special events. Booking.com recommends having at least 90 days of open availability before publishing your property.
💡 Tip: If you use a PMS like MiniHotel, you can automatically sync your calendar with Booking.com and other OTAs. This helps you avoid overbookings and keep your rates updated across all channels.
7. Payments, Taxes, and Rate Plans
Before setting up your payment methods, configure your rate plans.
Booking.com allows you to create different pricing plans and conditions to attract a wider range of guests. The suggested rates are based on data from similar properties, but you can edit them anytime.
Examples of rate plans:
- Standard Rate: base price with free cancellation until 6:00 PM on the day of arrival. If canceled later, the cost of the first night applies.
- Non-Refundable Rate: offers a discount (for example, 10%) in exchange for a non-refundable booking.
- Weekly Rate: provides an additional discount (for example, 15%) for stays of 7 nights or more—ideal for long-term guests.
Setting up multiple rate plans helps you attract different types of travelers: those who value flexibility and those who prioritize lower prices.
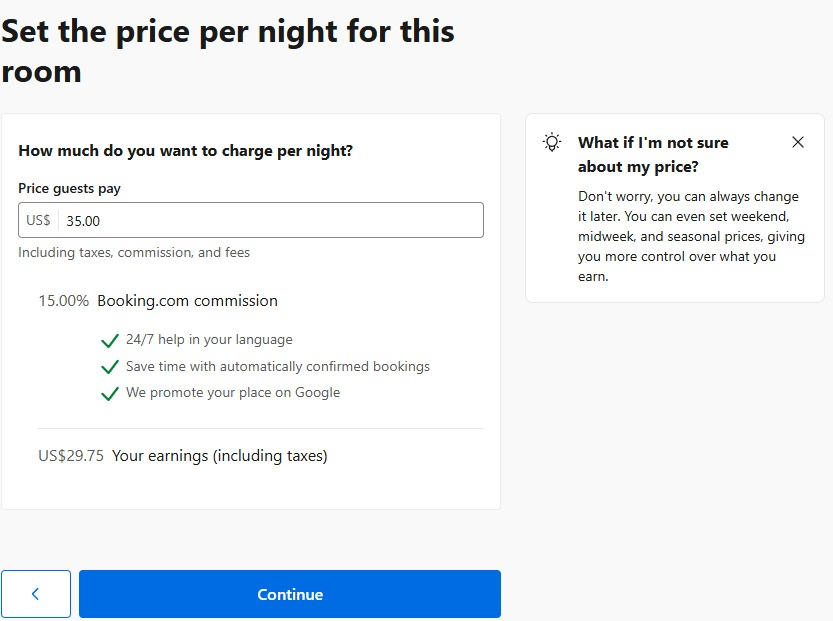
Another important aspect at this stage is the Booking.com commission, which typically averages around 15% per confirmed reservation. This fee is automatically deducted from the total amount paid by the guest, and the remaining balance corresponds to your net earnings.
Once your rate plans are ready, set up how you’ll process payments:
- Payments handled by Booking.com: the platform charges the guest and then transfers the corresponding amount to you.
- Direct payments: if you prefer to handle transactions directly at your property.
Make sure to correctly configure your taxes, local fees, and currency to avoid accounting errors and ensure your pricing remains clear to guests.
💡 Tip: This may be one of the slower steps, but the more time you invest now, the less work you’ll have later. A solid initial setup ensures your property is well-organized and automated from day one.
8. Verification and Publishing
Before your property goes live, Booking.com will require a verification process. This may be done via email, phone, or an in-person validation visit. Once approved, your listing will be published and ready to receive bookings.
✅ Final Checklist
- Banking and tax information completed.
- High-quality photos uploaded.
- Rates and availability updated.
- Clear and visible policies.
- Location verified on the map.
Publishing your property on Booking.com is only the first step toward expanding your online reach. To efficiently manage your reservations, pricing, and availability, you need a system that centralizes everything in one place.
With MiniHotel, you can connect your Booking.com account and all your OTAs, automate calendars, avoid overbookings, and track your revenue from one platform.
Centralize Your Operation and Grow Your Property
MiniHotel helps you work smarter, save time, and boost your direct revenue. No long-term contracts, local support, and technology built for hoteliers.